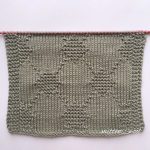
Free Argyle Knit and Purl Stitch. Simple yet effective free knit and purl stitch with an argyle stitch that looks good on both sides. Reversible stitch.
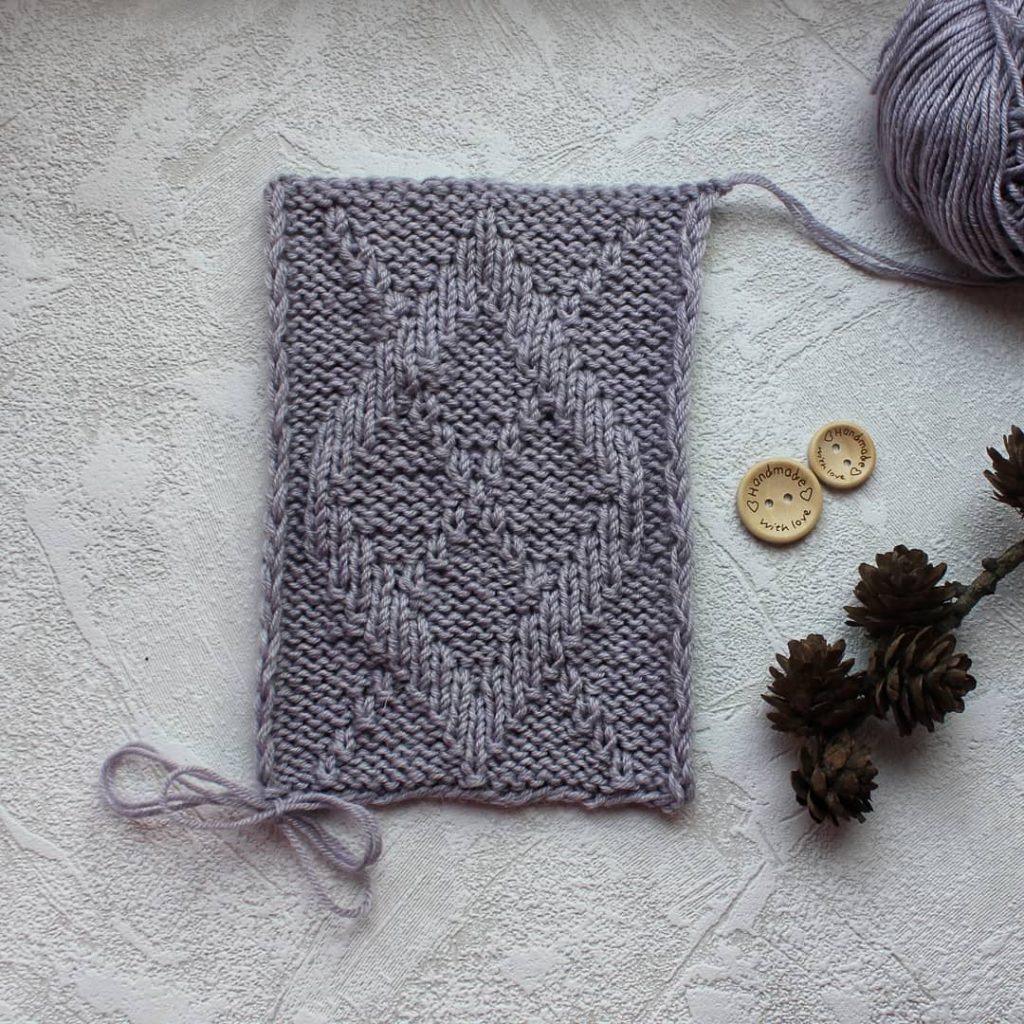
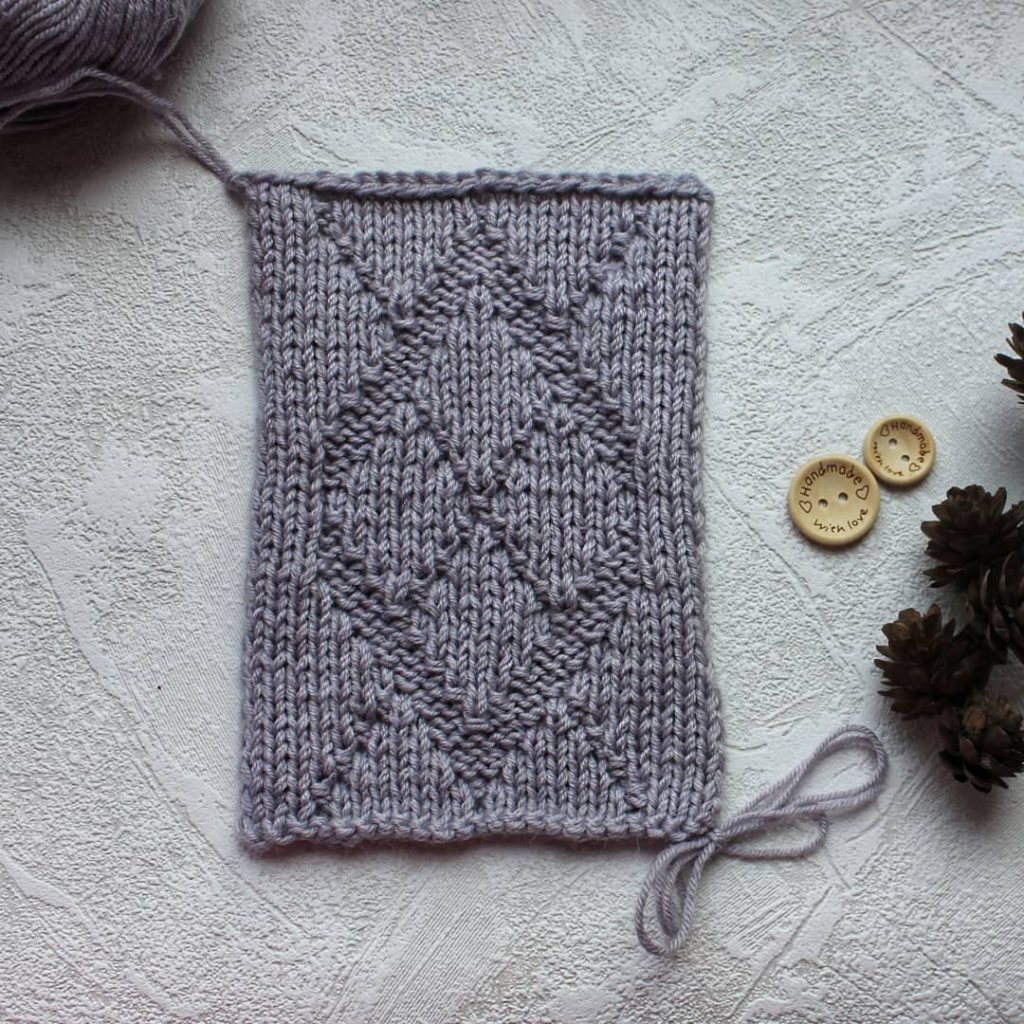
Free Argyle Knit and Purl Stitch. Simple yet effective free knit and purl stitch with an argyle stitch that looks good on both sides. Reversible stitch.


Knit and Purl Stitch Relief Knitting. More Great Patterns Like This
Knit and Purl Broken Chevron Knitting Stitch. Free Stitch More Great Patterns Like This
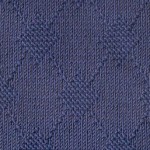
Diamonds with Moss Texture knitting stitch. Multiples of 14 + 1 + 2 Row 1: edge st, * k1, p2, k1, p1, k1, p3, k1, p1, k1, p2; repeat from
Hi – don’t know if I’m being stupid but where is the actual pattern for the argyle knit and purl stitch? ………the others all seem to have the pattern or grid below them but this one doesn’t……
Need diamond argyle knitting stitch please
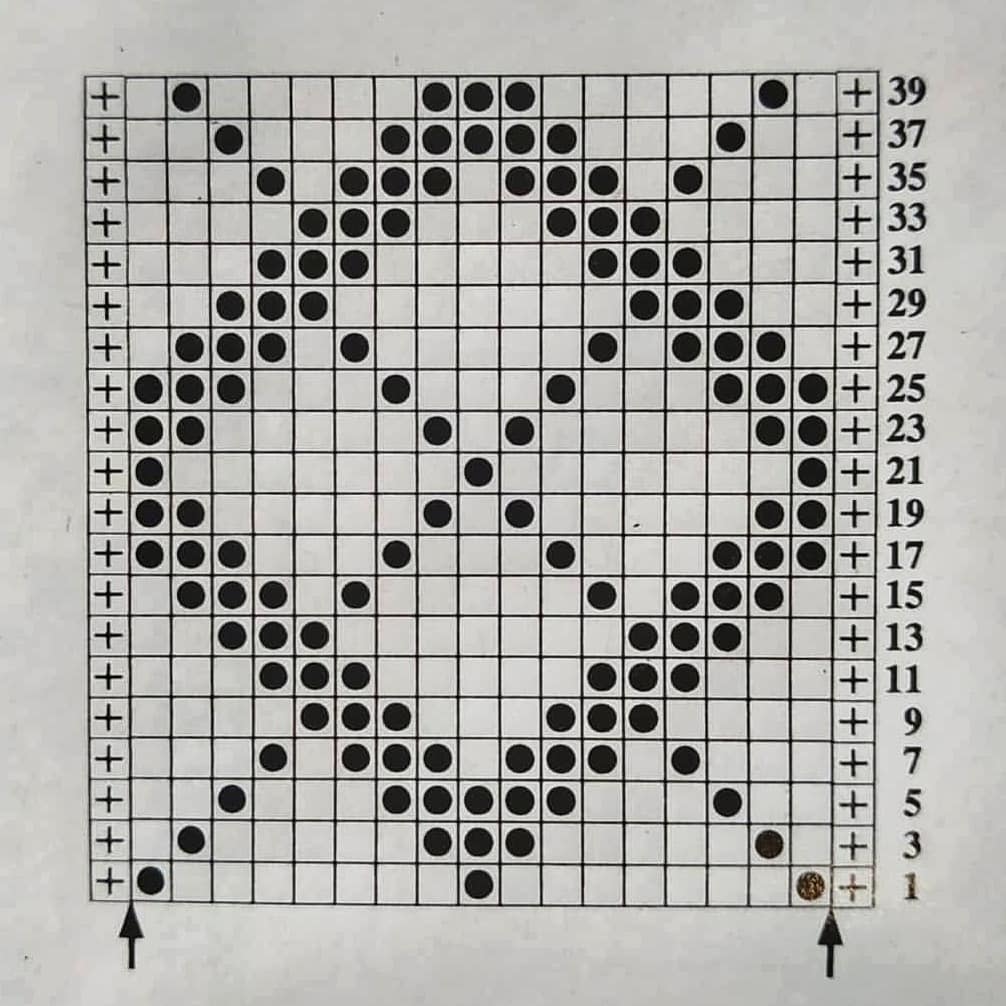
This pattern is 17sts by 39 rows and repeated to desired width and length. The sample on the right side has 3 knit sts either side of the 17st pattern.
Pattern starts as follows:
Row 1: P1, k7, p1, k7, p1
Row 2: p1, k1, p5, k3, p5, k1, p1
Row 3: k2, p1, k3, p5. k3, p1, k2
Row 4: p3, k1, p1, k3, p1, k3, p1, k1, p3
Thank you Rae!
The above comment should be corrected as row count is 20.
What about the even rows? Are we gonna knit or purl them??
For the even rows (the wrong side of the piece, it’s usually called, or the back) you would knit the stitches you’d purled on the right side, and purl the knit stitches.
So for this chart, Row 1 would go: knit 1, purl 7, knit 1, purl 7, knit 1
And then you’d turn the work over to the back and Row 2 would go: purl 1, knit 7, purl 1, knit 7, purl 1.
Row 3 would be right side again: purl 1, knit 1, purl 5, knit 3, purl 5, knit 1, purl 1
Row 4 would be wrong side: knit 1, purl 1, knit 5, purl 3, knit 5, purl 1, knit 1.
When the even rows aren’t marked in a chart it’s assumed that you repeat the previous odd row like this, reversing the purl and knit stitches. You might also see notes to “continue in pattern,” which means the same thing.
I hope this helps!!